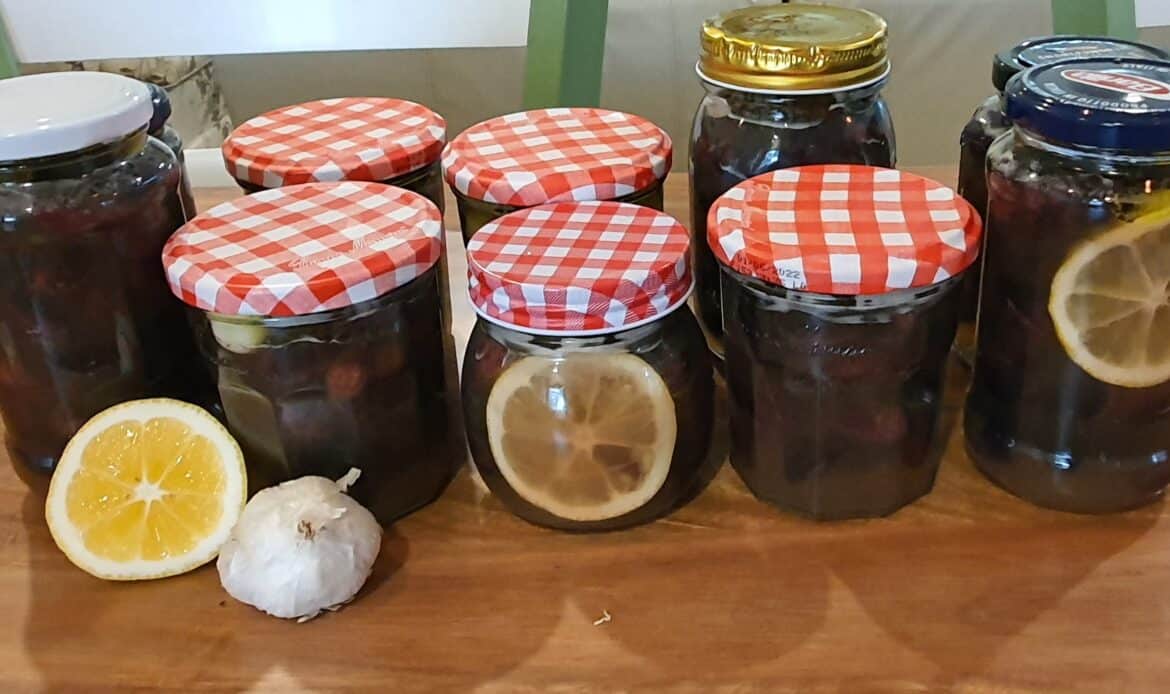
My sister-in-law Karol and her husband Joe invited us to their Eden Valley property to pick olives. Even though I have been married to my Greek husband Phil, for over twenty years, I have never learnt how their family preserve olives! They originated from the Kalamata region of Southern Greece, so it was a wonderful experience that allowed me to be involved in their time honoured tradition.
Picking Olives
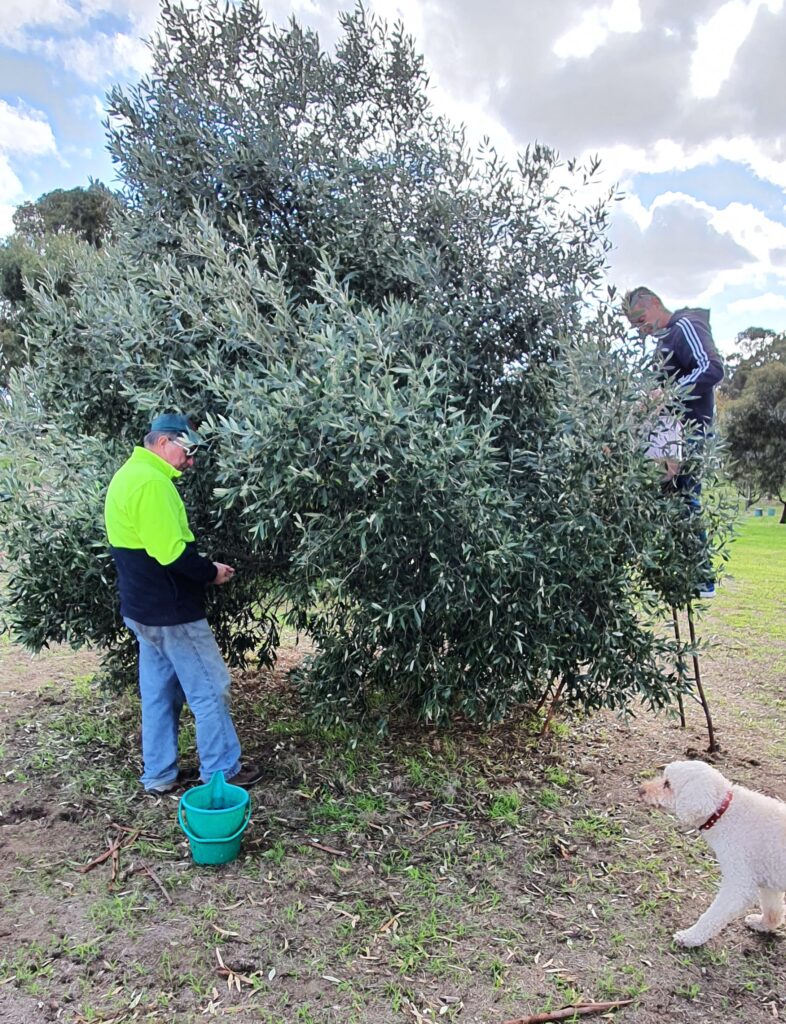
Choose nice plump olives which are not drying out and not damaged by the birds. We picked Kalamata olives as these are the best for eating, rather than taking the oil from them.
They are due for picking around late April, May through to June in Australia. ( Autumn until early Winter) .The fruit are black in general with a little green being ok. The more green they are, the more bitter, and therefore require much longer preparation.
Preparing the olives
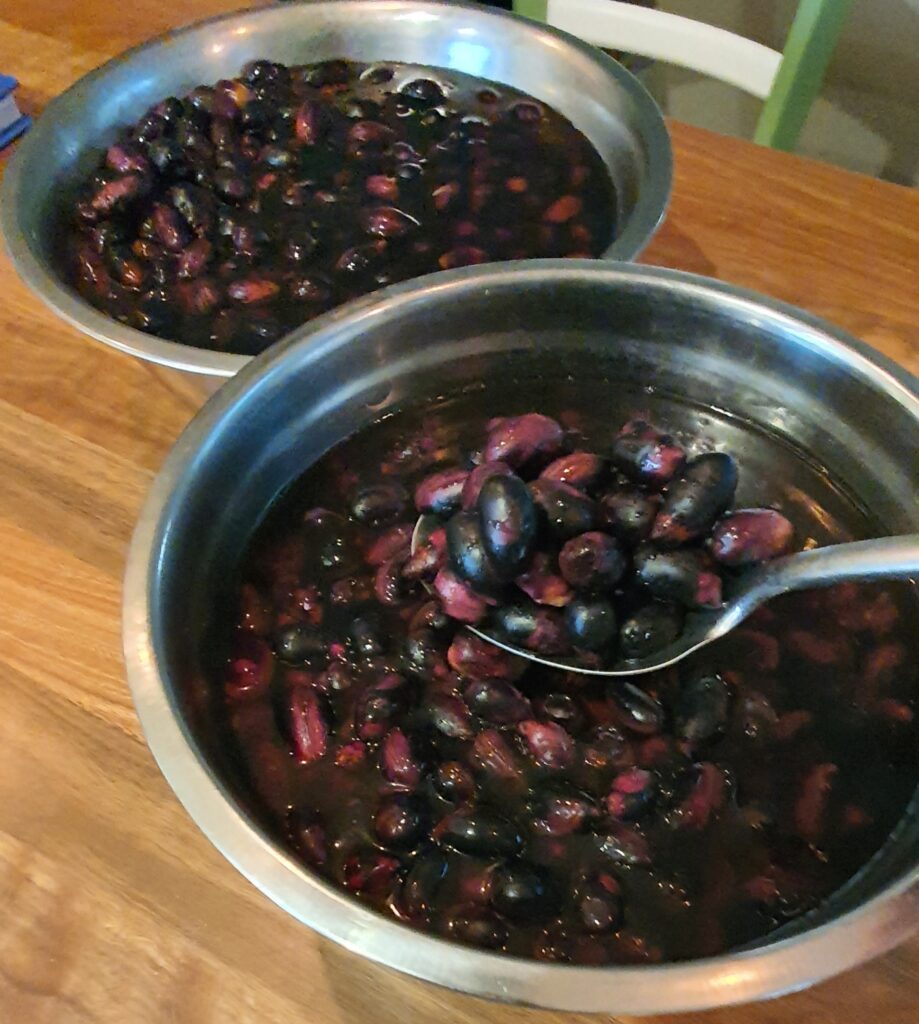
Wash your newly harvested olives and remove any twigs, leaves and bad olives. Choose your bowls or bucket to soak the olives, and then commence the somewhat tedious task of putting a small cut into each olive. This allows the bitter juice to be leached out. You can still soak the olives without the cut, but it takes much longer.
You will be changing the water daily now, for the next 12 days (or longer if the olives are still too bitter). My olives took exactly 12 days, but Karol said it can take up to 20 days. Keep tasting.
Each time I tipped the water out, it would be tinted with the purple juice, and I noticed the color of the olives became less black, sometimes mottled in their characteristic pinky-purple.
Making the brine
After the final rinse, it is time to make your salty brine. The ingredients are very simple and easily available from the supermarket:
- 2 cups Red wine vinegar
- 2 cups Non-iodised salt ( I used pink Himalayan sea salt because I love the taste and the minerals in it, however when I tasted Karol’s her olives didn’t seem as salty. She used normal salt, so your choice.)
- 4 litres of filtered water
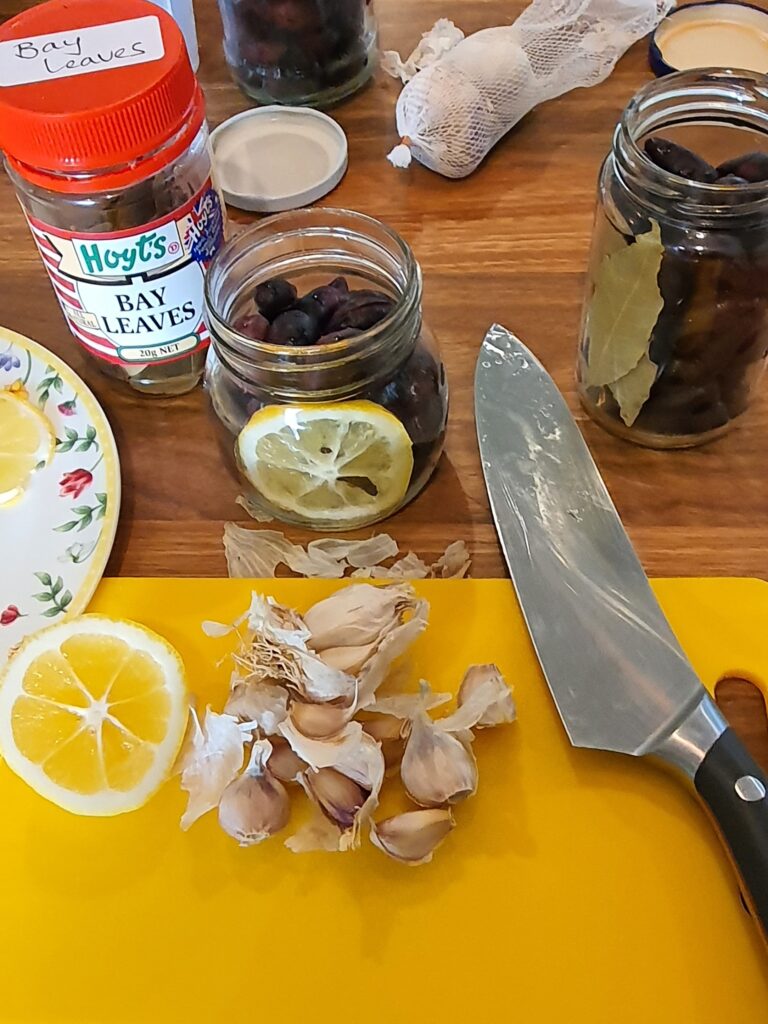
- Optional: you can add bay leaves, lemon slices, garlic, dried basil, thyme, oregano or anything else you like to add a punch of extra flavor, but these are added separately to each jar, not the brine.
Packing your jars
Blend the salt, red-wine vinegar and water for about a minute in a blender until the salt is dissolved. Have all your clean jars ready to fill with olives and your chosen flavors. The jars should be clean but don’t need to be sterilised.
Do not over-fill the jars as you want room to pour a seal layer of olive oil at the top of each jar. This is very important to maintain the integrity of the olives.
After you have filled the jars, close the lid tightly and give each one a gentle mix, tipping the jar upside down a few times to mix the brine in well.
The Final Step
For the next week, store the olives in a dark place, and every day give each one another gentle mix. The olive oil will always rise to the top of the jar to maintain the seal.
The two bowls of olives gave me 16 medium to small jars and one very large jar full. (And that was one bucket full of olives)
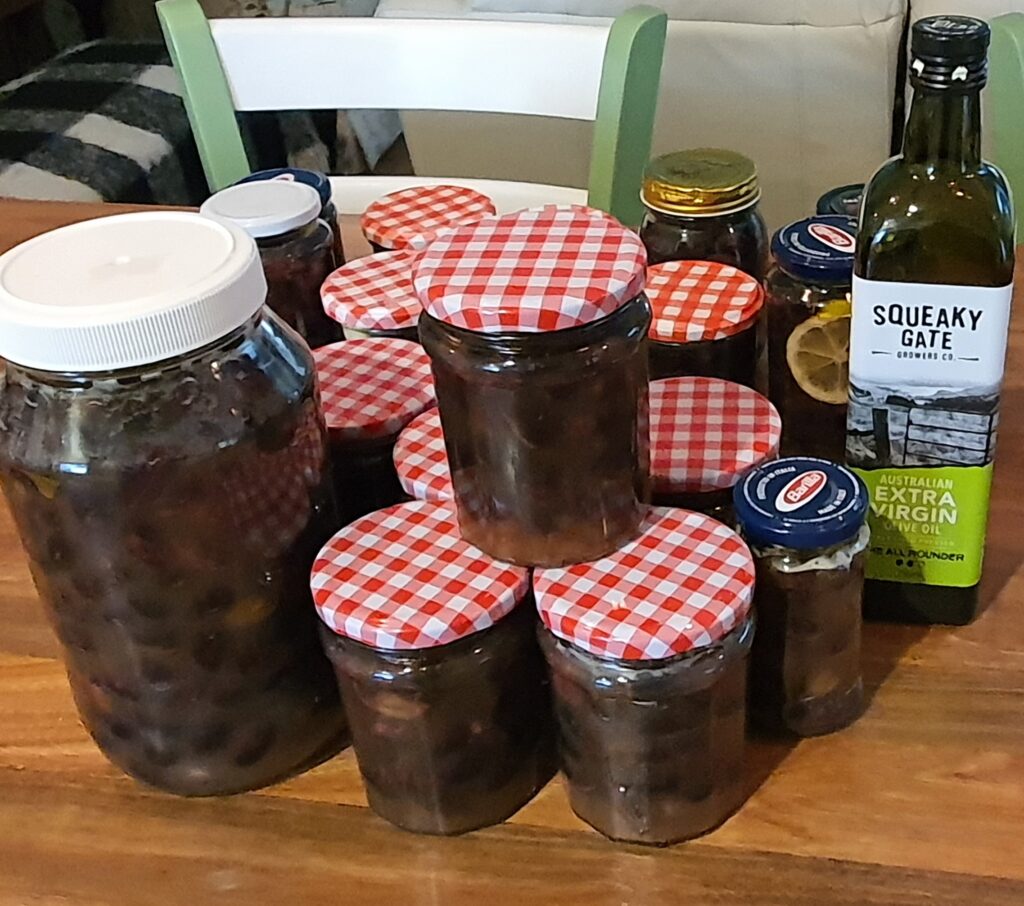
The olives are now ready to eat or give to family and friends!

