How many hours are spent perfecting your acrylic painting? It’s worth taking some time to review how to varnish it correctly because you and your painting deserve it. Whether you choose a water-based polymer or an acrylic resin-based product, there are several options available in both categories.
It is very important to research this because the choices you make and how you apply your varnish can make or break your painting. There will be no tears if you are patient and learn about this first.
Why varnish your acrylic painting?
Even though today’s high quality acrylic paints have excellent protection factors within them now, it is still worth applying a suitable varnish. Even if you have used Gesso as a preparation, the canvas itself may still have a faintly rough feel to it from the fibres in the fabric.
While the surface appears perfectly smooth, there are tiny irregularities which are perfect little pockets for dust and grime to collect. Over time the painting will become dull and lose its perfect appearance. Cleaning is more difficult if you don’t varnish, and sunlight can cause damage to the pigmentation over time.
Which varnish effect to use? Gloss, satin or matte finish?
The finish you choose for your painting depends on the painting itself and where it will be hanging to some extent. For example, if you don’t want too much light reflected off the surface but want a gentle sheen, I would recommend using a satin varnish. If you don’t like that you can always use a gloss finish for subsequent layers. (And vice versa)

A matte finish would only be chosen because it works better for the subject matter and the overall effect you are trying to achieve. It will still give excellent protection to the painting.
If you want a super glossy, and ultra-smooth surface, I would give your painting several coats of gloss varnish until you reach that desired effect. It may take 4 or even 5 coats, waiting for it to dry completely in between each coat. (This is referring to a water-based varnish)

Why is the water-based varnish cloudy?
When you first apply the varnish to your painting you may be horrified to see a milky uneven finish spread across your valuable work. Don’t panic, it will dry clear.

Warning! (Follow these tips for successful varnishing)
- Number one! Make sure your painting is completely dry. If you have used a painting retarder it will not be completely dry for much longer than if you had only used paint. Varnishing a piece of work prematurely can lead to issues with moisture being trapped, uneven effects or even dragging the colour pigment across the surface. Be aware that some water-based varnishes are not removable once applied!!
- Place your painting flat on a large table or surface. Allow yourself plenty of room to move right around the painting unimpeded. Do not apply varnish to a vertical canvas to prevent dripping and running.
- Do not apply thickly! More coats of thinly applied varnish will provide the best effect.
- It is really important not to over-brush the varnish once you have put it on. Keep moving quickly and carefully, keeping an eye on the light reflected on the surface to see where you have been.
- Use a systematic approach working from one end of the painting to the other in long quick strokes. Do not brush it on in a haphazard manner because that can lead to over-brushing and not being quite sure where you have been.
- Use a good quality, soft brush. Do not use a brush with rough fibres as you may have brush marks across your work and it is likely that you will be over-working the varnish trying to smooth it out. So really think about the brush you are going to use.

Fixing a varnishing error
If you have unfortunately applied your water-based, non-removable varnish to your still damp painting because you forgot about the drying retarder you used (yes, I did that):
- Don’t try to remove the varnish you will only make things worse. Some people try using acetone but it will also remove your painting!
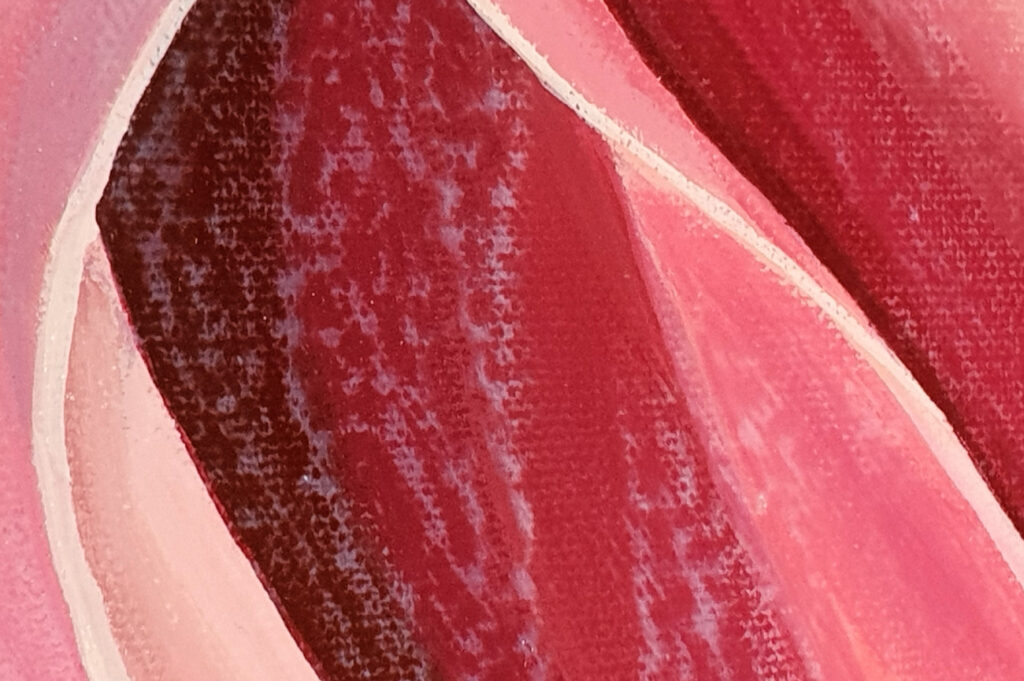
- For slight varnish marks which show up in certain light: you can apply several coats of gloss varnish to fill in all the irregularities. (I did this with my aforementioned disaster as recommended by Art to Art, and it did help improve the surface and appearance)
- If you don’t want the gloss effect, try several coats of satin. Satin provides the enhancement of colour without the same level of light reflection that gloss offers, and can soften the over-all effect of your painting. Remember that if you change your mind, it is ok to use gloss over satin.
- Or, you can paint over the varnish once dry in certain areas where the painting looks worse. Then when it is dry re-start the varnishing process. Not ideal because you were happy with your painting, but this is a last-ditch effort.
- If you are going to re-paint in the affected areas, I would put the painting aside for a couple of weeks just to really make sure the drying retarder and paint have a chance to completely dry. (Remember that moisture can be evaporated away from the BACK of your canvas as well, where it has not been varnished!)
Types of varnish
There are two main types of varnish:
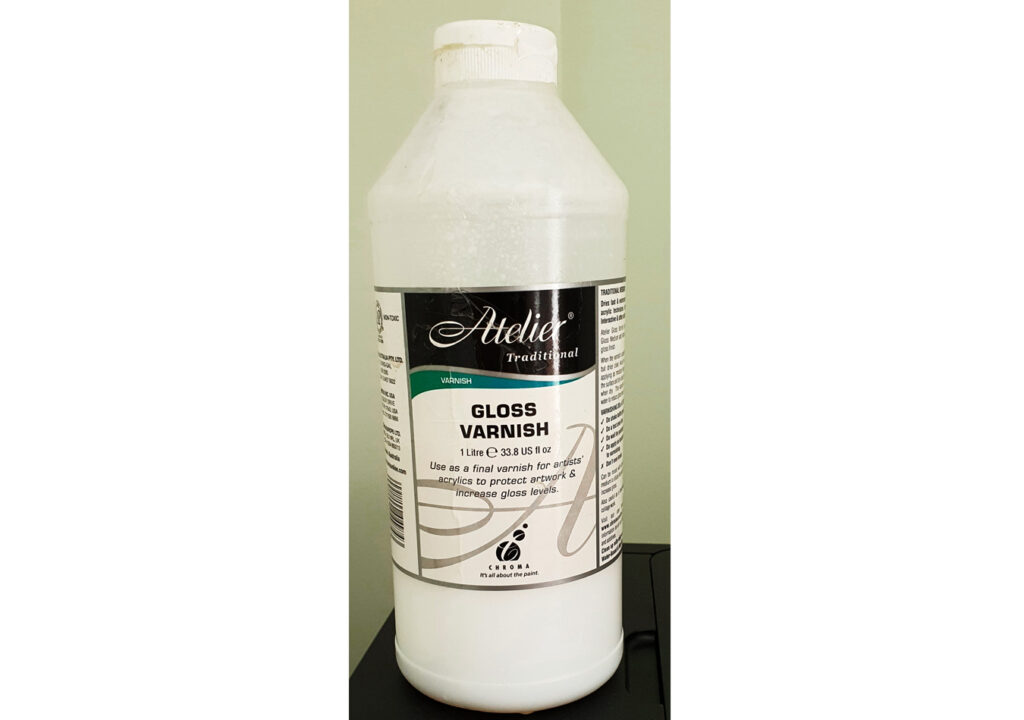
- Water based Acrylic Polymer (and non-removable) e.g., Atelier Traditional
- Acrylic Resin (thin and clean-up with mineral turpentine) e.g., Golden MSA varnish. Note that these require a minimum of 24 hours drying time between coats. (Removable by following a specific and careful process using an appropriate solvent as per manufacturer’s instructions)
See www.goldenpaints.com for more information.
Golden MSA Varnish with UVLS is a special high-quality varnish with inbuilt protection against ultraviolet rays, hence better protection against sun fading effects.
Varnish can be applied by brush or spray. I prefer using a brush (NOT FOAM!) as this gives me more control. The problem with a foam brush is that the foam can take on quite a bit of varnish potentially leaving pools of varnish which dry unevenly if you are not careful. A brush is better for a thin, evenly distributed coat.
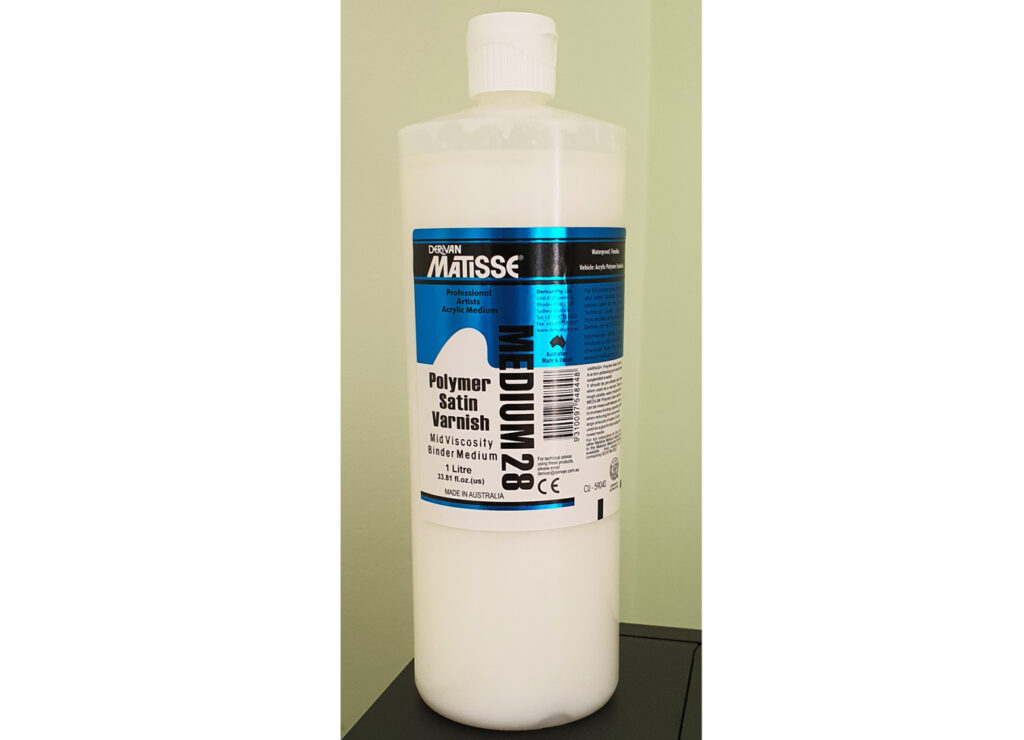
Be aware that some manufacturers require their varnish to be diluted with water, e.g Matisse Polymer Satin Varnish Medium 28.
There are usually other hints included in the instructions on the bottle of your chosen varnish, as in Atelier’s water-based varnish, see www.chromaonline.com for more information:
- you can dilute with water to reduce the gloss.
- An isolation coat of Atelier Fast Medium or Binder Medium to seal your painting prior to varnishing is recommended.
I suggest you try brushing your varnish onto the base edge of your painting first where it will not be seen. Then you can tell whether you are happy with the effect or not before you cover your art-work.
Good luck with your varnishing, it’s worth spending some time studying this important detail in achieving your ultimate finished product. One that you can be proud of!

