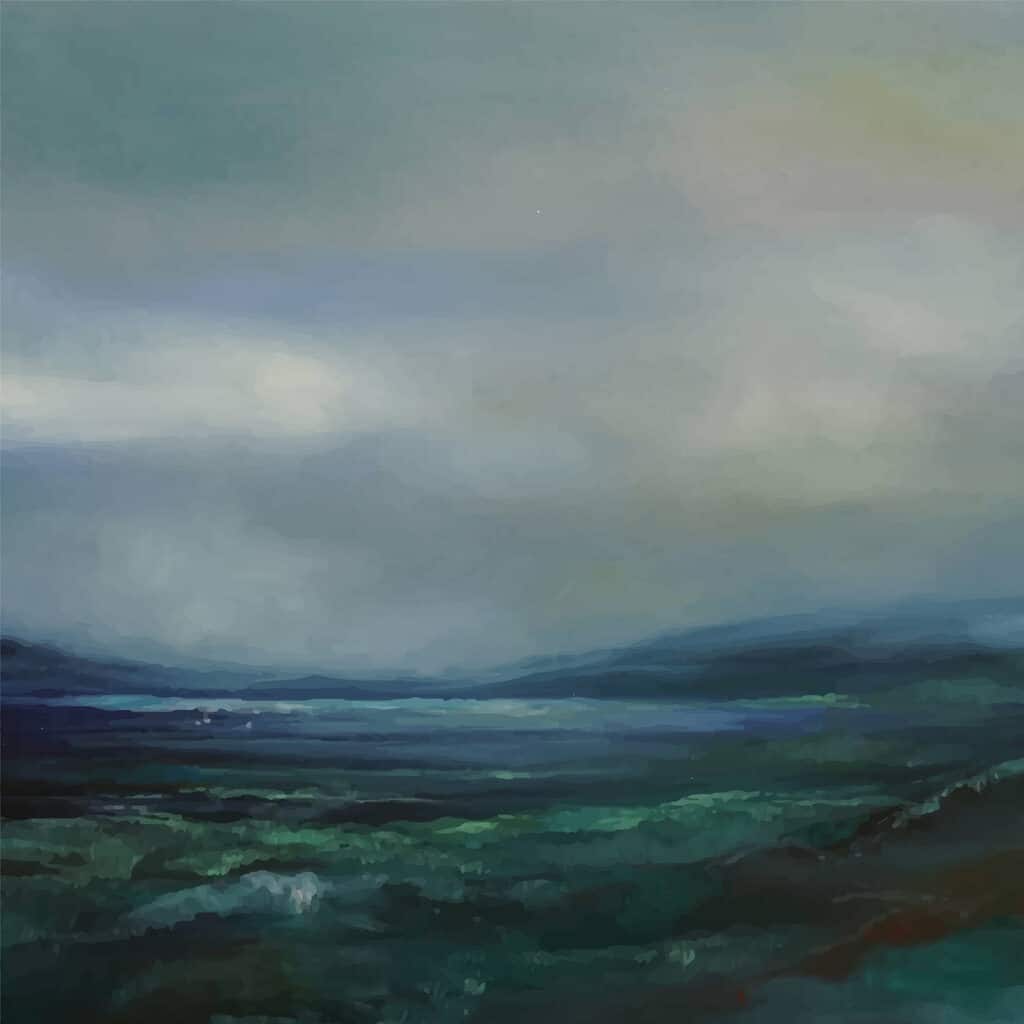
How to paint clouds
Clouds can be painted easily when you understand the basics. You can make a sky wintery and heavy with dark clouds, or you can have a Summer blue sky with wisps of white. The same processes can be followed. The first option I will discuss is where you paint your background sky with any variations to the hue first. Let it dry completely. Then create your cloud palette with all the shades you want to incorporate.
Begin with a pale cloud following the shape you are aiming for, by using Titanium White paint mixed with water to achieve translucency. Once you have your cloud pattern established you can simply fill it in.
Edges of the clouds can be made to appear fluffy with a dry brush, or sunlight added with extra white. Parts of the translucent initial cloud pattern can be left as is, to allow the sky color underneath to show through.
If you are unhappy with your pattern, you can use a moistened cloth and gently remove them if they have just been painted. A good quality acrylic paint for the sky underneath will not rub off like this. I have done this before with surprising success and a sigh of relief.

Look for the sunlight in the clouds
Examine the clouds closely to see where the sunlight is coming from. Keep the pattern of sunlight true to the direction of the light.
For example, if it is touching the tops of the clouds predominantly, don’t have one cloud with no light there unless it is clearly shaded by another cloud. Keep it looking as natural as possible.
Look at the darkness in the depth of each cloud and build your color up in this area slowly. Gradually as you increase the depth, your cloud will take on it’s natural form.
Stand back regularly to look at your clouds over-all. If you get too caught up in the detail, the painting can start to look artificial.
Sometimes the hint of what you see is better than the details you might see in a close-up photo. The only real way to do this is by standing back. This is how your painting is viewed in the end anyway.

Mixing your cloud colors
Clouds are rarely a plain white, or plain grey unless that is the style you’re actually going for. Sometimes a hint of the actual sky color is recommended in the clouds.
For example if you have a sunrise or sunset, you need to add hints of gold, orange, red and mauve to the clouds. If the sun is beneath the clouds throwing it’s light and color upwards, reflect the colors in the base of each cloud.
When painting a cloud heavy with rain, consider Payne’s Grey with it’s blue undertone. When adding sunlight to the edges, use Titanium White as your base. Any other white can make your clouds look dirty.

If you have used Australian Sky Blue in your background sky, consider adding a tint of that to your clouds. They will look more complimentary to the sky.
Use this idea for other blues you may have used. The outcome is clouds which appear white against the sky, however closer inspection reveals they are not plain white. This is how you achieve a natural looking sky.
Fixing cloud mistakes
If you are really unhappy with your clouds, stand back and study them for a while. Keep glancing back at your reference photo to see where you have gone wrong.
You may only have to tweak it to get it right. Check your paint mixing procedure and palette. Is your paint getting mixed up with other colors?
Do you need a new plate? Is your water dirty and your brushes are not being cleaned properly between shade changes?
Once you have assessed your situation, consider painting new clouds over the top. If you try painting the underlying sky color over your cloud to start again, you may run into trouble.
A convincing sky has perfect continuity underneath, and that is almost impossible to achieve if you start it again in a new patch where your unhappy cloud mistake is.
Better to paint a new cloud over the top if at all possible. That is because the underlying sky color comes about by a gradual blending of color in many cases. The sky is lighter closer to the horizon for example.
The other thing to remember about cloud mistakes is that you are the artist, you can choose to put clouds in your picture that are not in the reference photo if it means you are going to save your painting.
If by chance you did go down the road just mentioned (painting over the background sky in one area), you can cleverly use clouds and wispy threads of clouds to cover up any inconsistencies.

Blending sky and clouds as one
If you want indistinct clouds, or a sky which is literally all clouds, you can paint the sky and clouds all at once. The effect is a blending of your colors with a hazy and wispy appearance.
You may need to consider using a drying retarder to allow for the blending to be done smoothly. A dry brush is useful to blend and creates beautiful cloud effects.
This is a much quicker style of painting and the final result is usually less precise. Because it is done so quickly, you need several brushes at the ready.
If you are interested in learning how to paint a dawn sky, then read my post on how to do that here.
Remember that your work is always a reflection of your own style, so experimenting with different methods will help you find your favorite expression.

