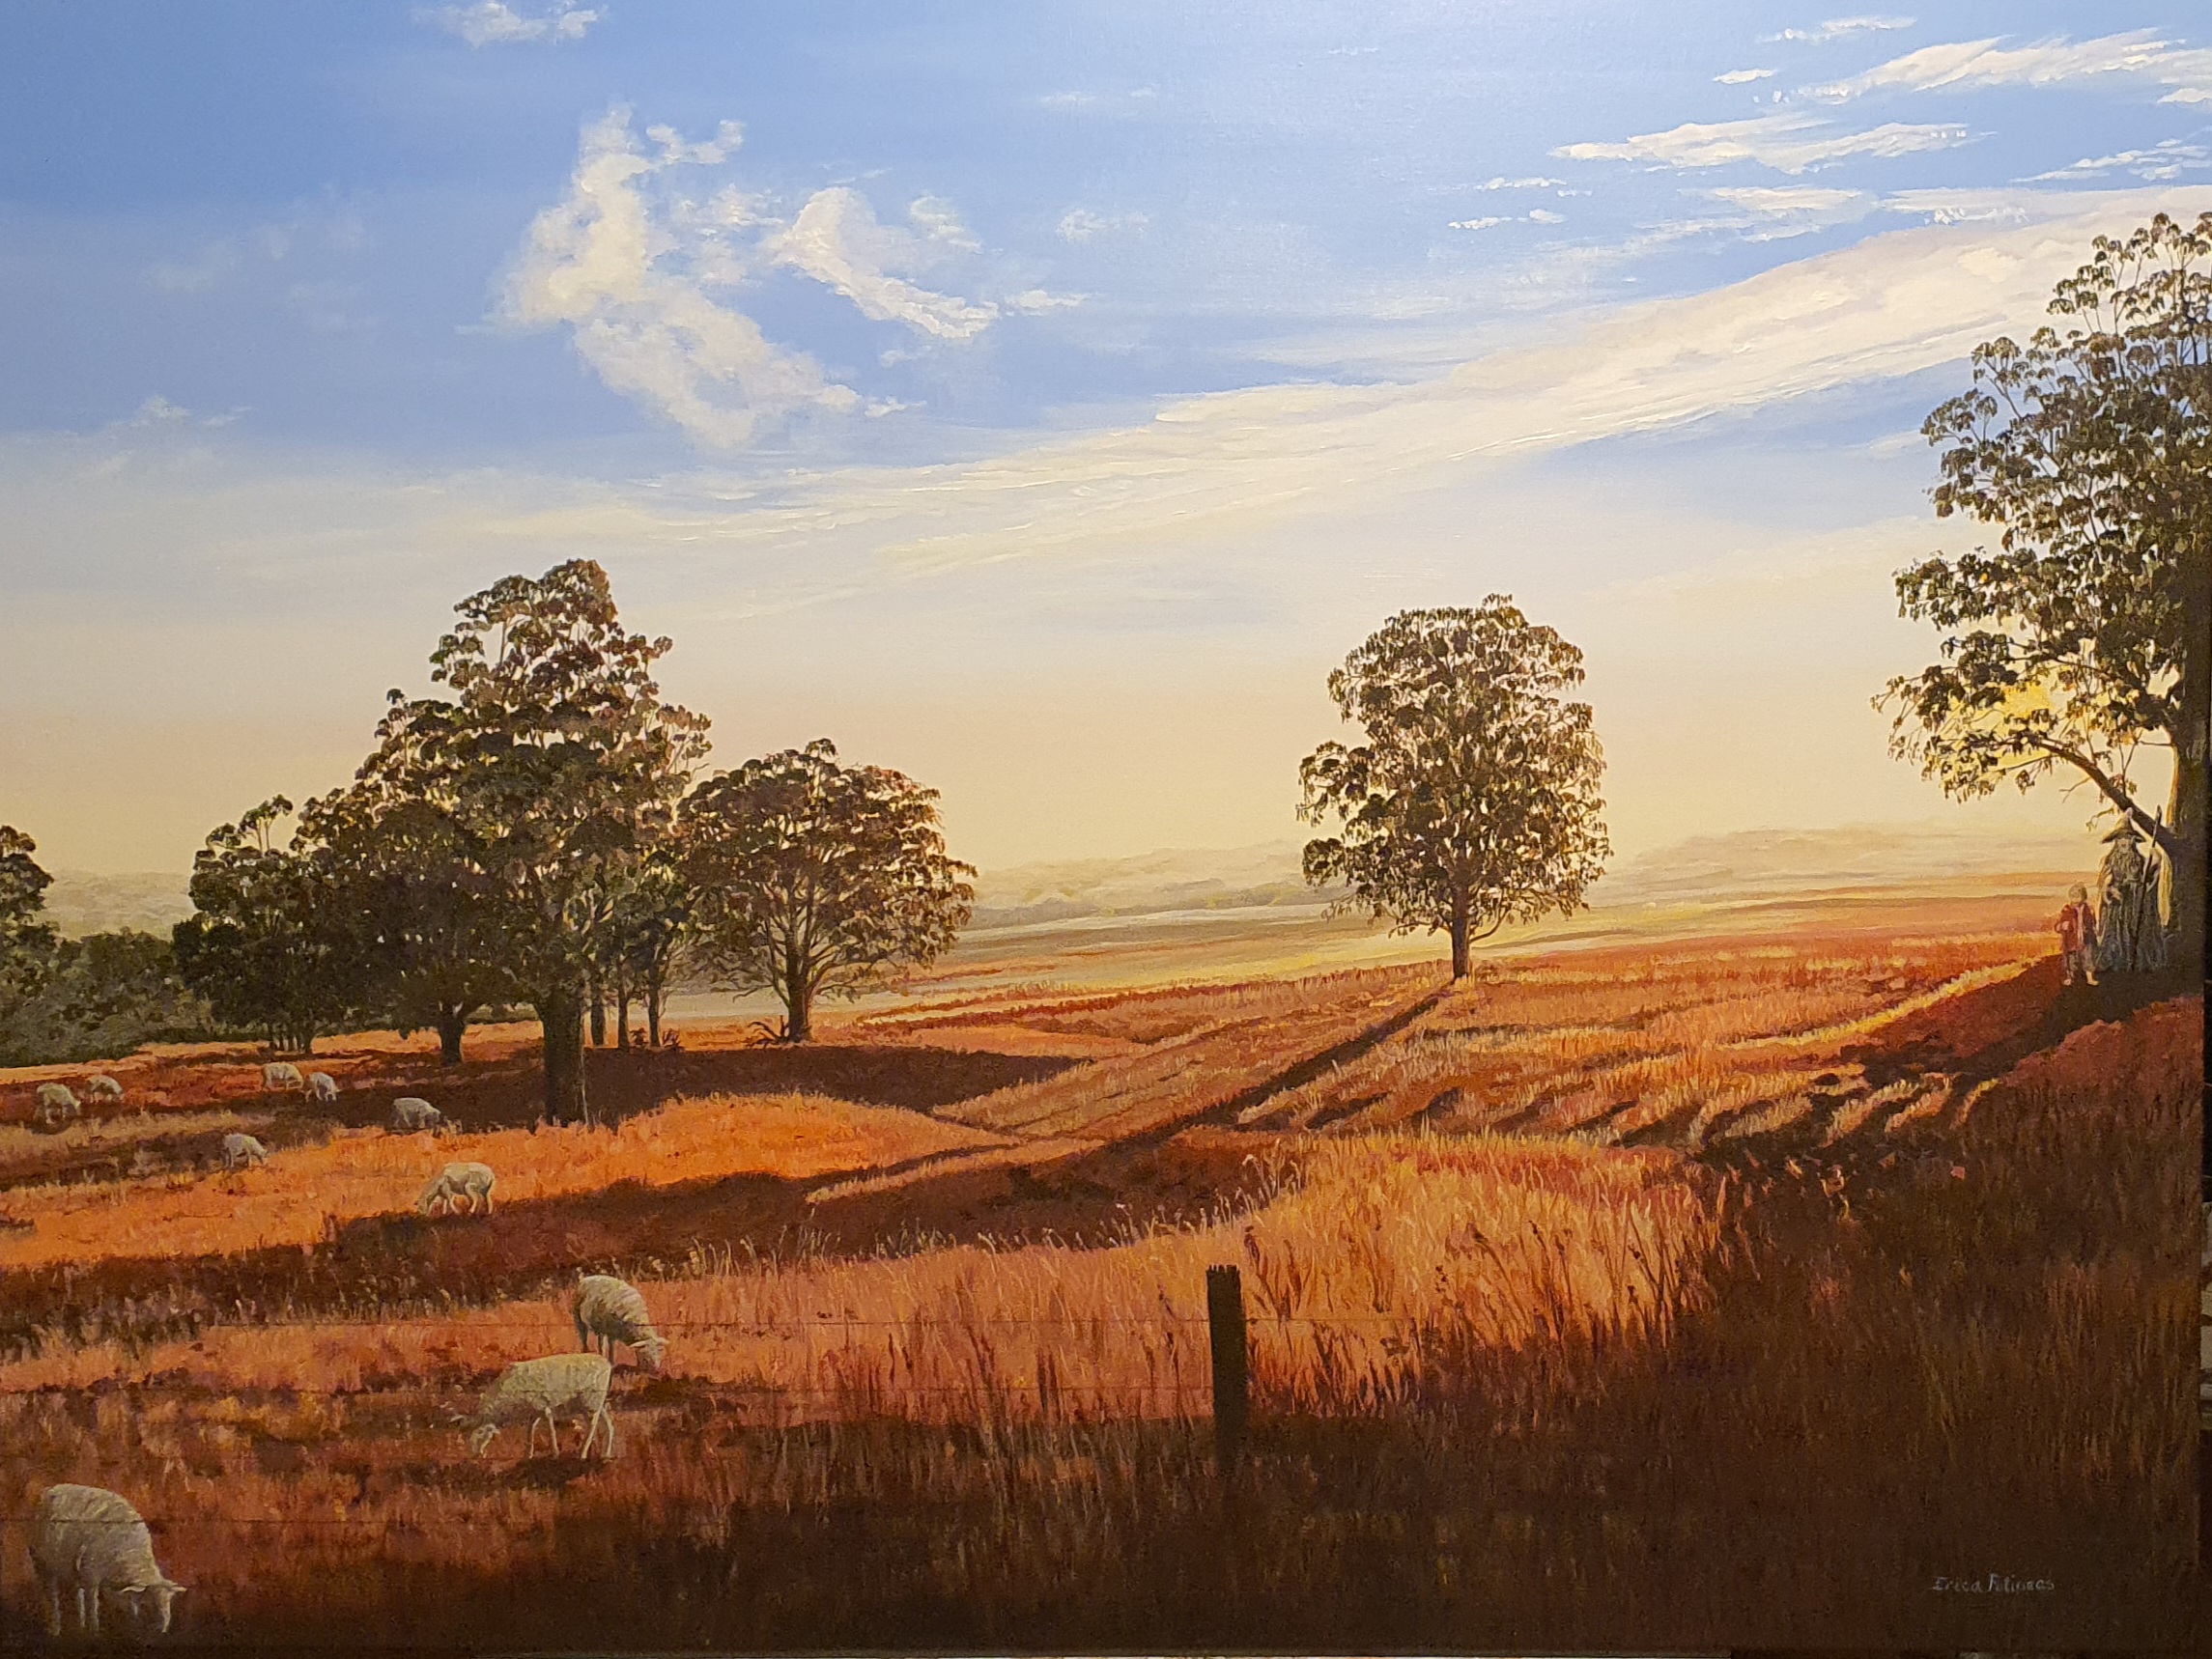
A landscape can seem quite over-whelming at first, but I have developed my own steps which I follow every time to achieve a beautiful painting.
I always use a photo as a reference, but it helps if you re-visit the landscape and study it closely. This applies to my big canvases which do not lend themselves to plein air painting. (painting outside on location)
This is a painting I have just done for my eldest son, who loves Lord of the Rings and The Hobbit.
Step 1 Landscape Painting
Go for walks at dawn and sunset to get some really beautiful photos of the area you like. I love the farmland near us, so this is where I go to take many photos.
You need quite a few, because the one that is painted will have those magic ingredients you are looking for. You might think you’ve taken twenty perfect shots, but only one will prove to be worth painting.
Step 2 Landscape Painting
- Decide how big you want your painting to be, the steps I have given here apply no matter what the size.
- The painting I am using for this blog is 91cm x 120cm.
- Once you have your colors, paint a little reference palette in a water-color pad with thick pages. This works fine for acrylic paints.
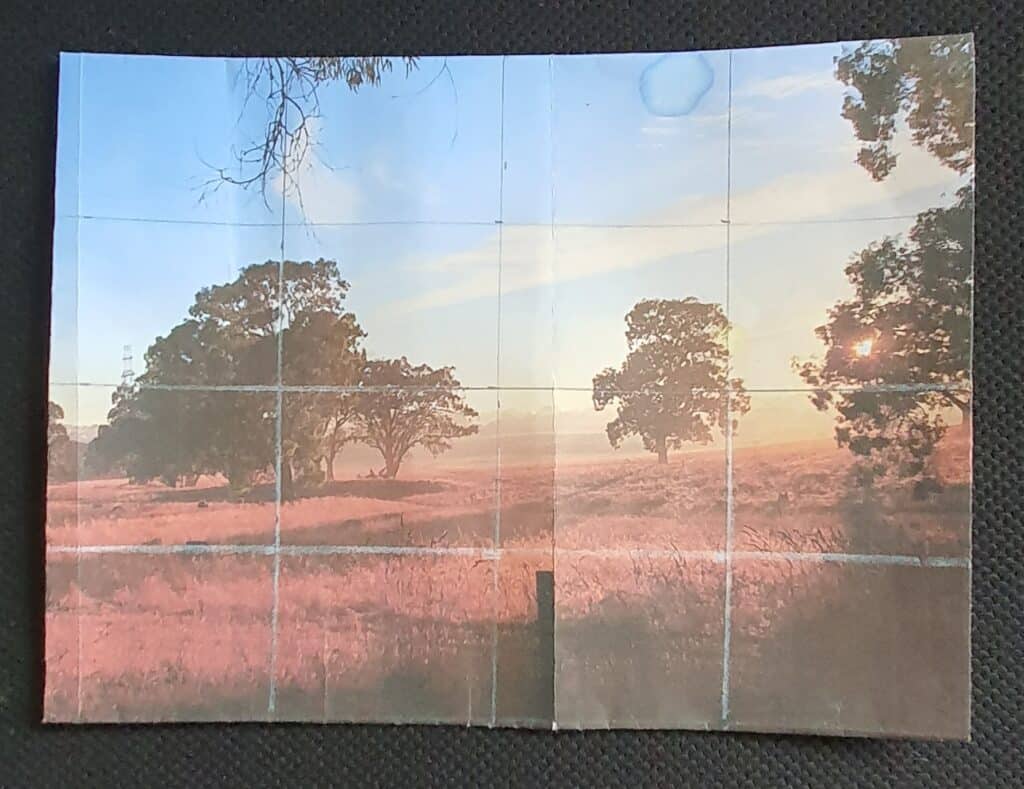
- Photocopy the photo to enlarge it using a good quality printer for accurate color matching.
Step 3 Landscape Painting
Time to begin.
- Rule up your photocopy into a grid of even rectangles or squares. Use a combination of graphite pencil over light, and white pencil over dark areas.
- Prepare your canvas with several coats of slightly watered down Gesso.
- Give a very light sand when completely dry. Wipe over with a soft, dry cloth.
- Rule up your canvas to match your picture with a light hand. If you do heavy lines it can show through the paint.
- I often rub out the lines if I have the main outline of my work copied. Be sure to dust off the rubber bits with a soft cloth.
- Alternatively, use a projector to copy your picture onto the canvas.
- Once you have drawn the main outlines of your landscape you are ready for the next step.
Step 4 Landscape Painting
It’s time to paint!
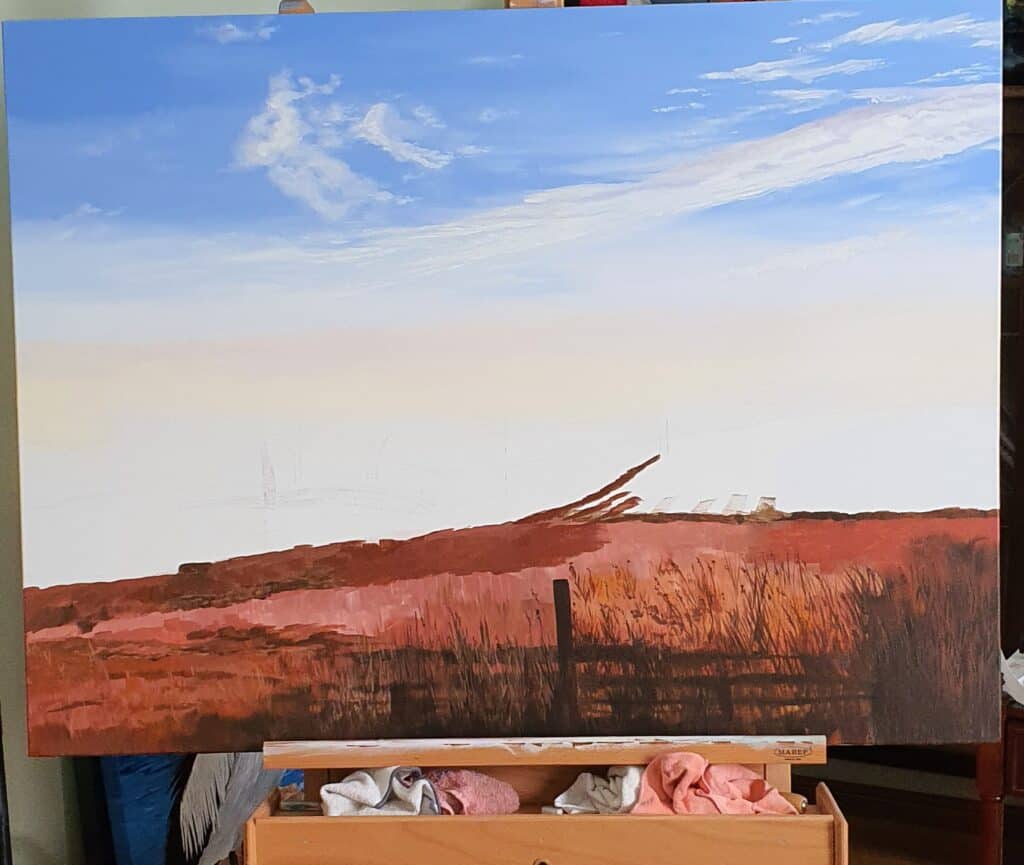
- Start at the top on your sky. Paint the entire background as described in my blog on how to paint clouds. Once the sky is dry, add any clouds. See my blog on painting clouds here.
- Your sky is finished, now it’s time to do the under-painting of the landscape. This means you choose the colors for the ground, grasses, sunlit areas, shaded areas and trees.
- Block out these areas to give a rough picture, and provide depth of color to your final work. This is very helpful in staying true to the placement of all parts of your picture.
Step 5 Landscape Painting
Adding the details
- Start on one side of the painting, go over the under-painting. You are adding the truest color you can see in your photo, plus details.
- Always refer back to your photo. Stand back regularly to see your whole piece. Take photos of your work, step by step.
- Study the light and the shadow. Are you keeping your contrasts clear?
- Choose your brushes carefully. Even working on a very large canvas, a small water-color brush with a fine tip is the best one for detailed work. See my blog on choosing your brushes here.
- Study the trees, look at the shapes that exist between the trees or the furrows in the land.
- Study the shadows that extend from your subject matter. Keep the long shadows true to the angle of the sunlight.
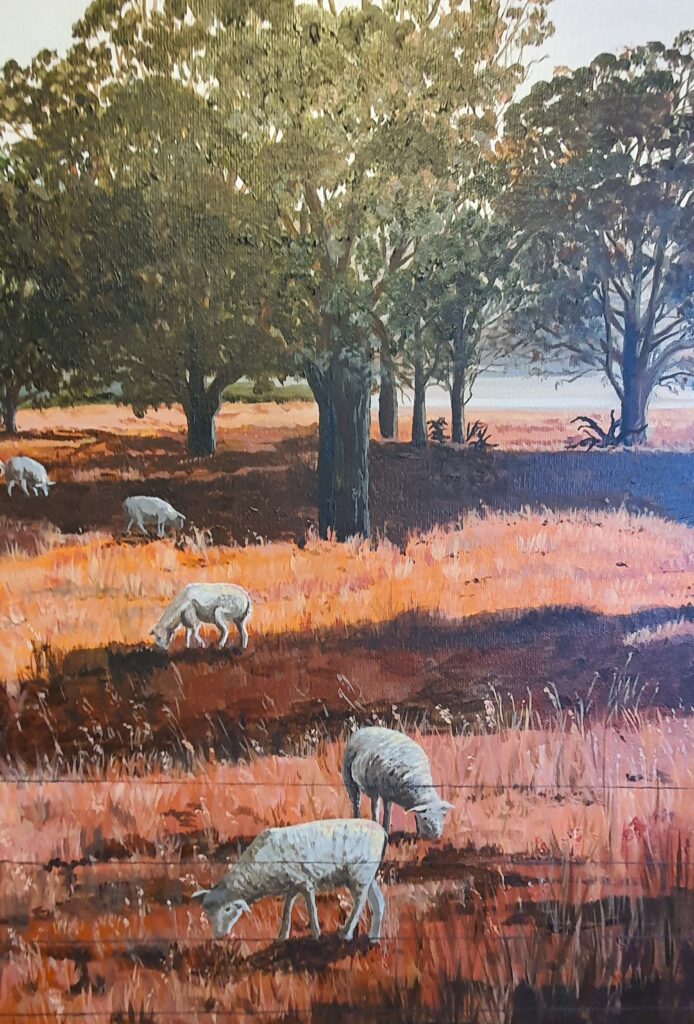
- Look at how the sunlight plays on the tufts of grass, the back of your sheep or cows.
- Now you are slowly building your picture, day by day.
Step 6 Landscape Painting
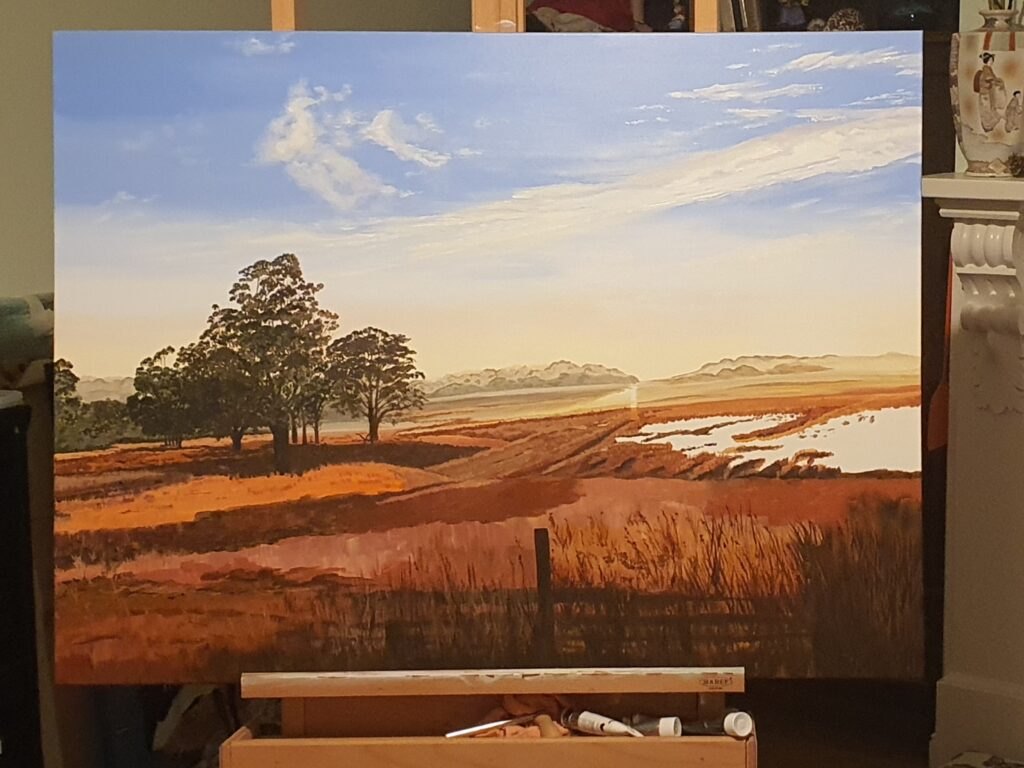
You have now got a beautiful sky. Your land and landmarks are clear, the shadows are true and the sunlight is reflected in the variation of colors.
- Continue to build on the fine details. Add extra components that you like.
- E.g add an extra lamb or shrubbery. Leave aspects out that you don’t feel belong in your painting.
- Pick up your picture and hold it in front of a mirror. If it’s too big, get someone to help you with this. You will see your picture quite differently, picking up any errors or things you need to do to improve it.
- Take more photos and study them away from your work. Do this after a break, or on another day. Your brain needs time to come away from the close work to see it in another way.
- Pay attention to details that your eye is drawn to. If your eye keeps being drawn to it, you may have a problem there.
- If you don’t like something in the landscape, for example a sheep has a strange shape, you can paint over it. Landscapes are pretty easy to alter. Skies are not. Get your sky right and leave it alone. Find more information on painting a sky here.
Finishing your Landscape Painting
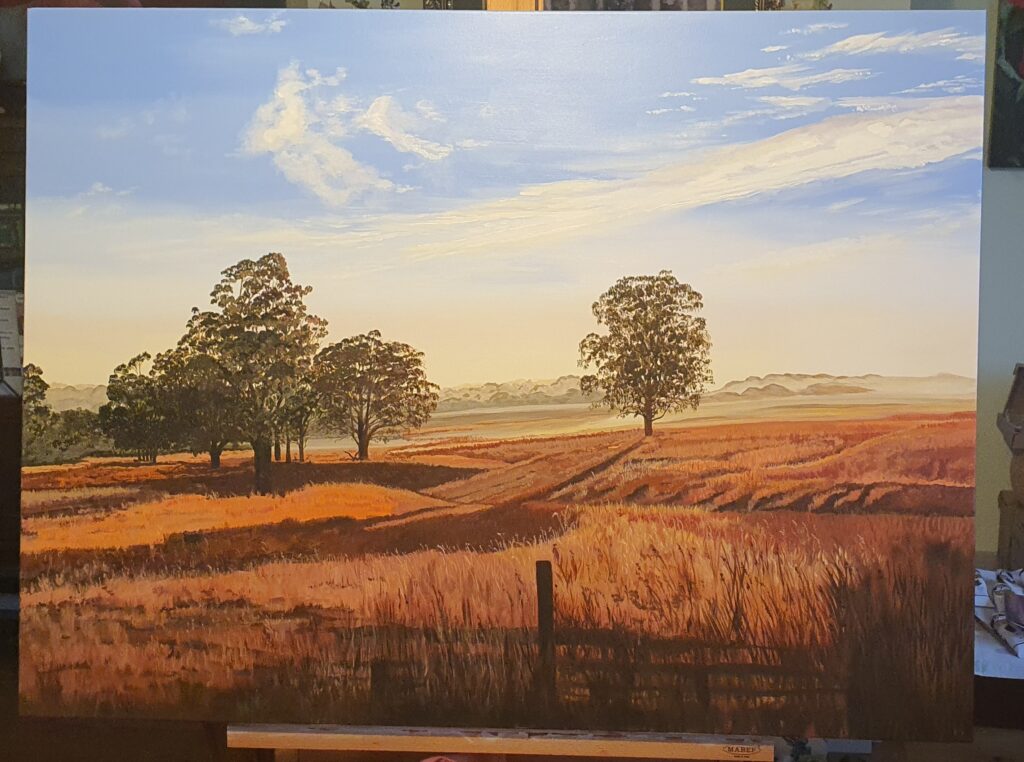
- You are finally happy with all aspects of your painting. Stop. Do not be tempted to keep tweeking it… trust yourself.
- Sign your name. Write the details of your painting on the back wooden frame: Name of your picture, copyright (C), year it was created, and your name.
- Allow to dry thoroughly, especially if you have used paint retarders. These components add weeks to the drying time. Read about paint retarders here.
- Once dry, choose your varnish. Satin, matte or gloss. Apply anywhere between 3 and 5 coats of varnish to protect your work for years to come.
- I applied 5 coats of gloss varnish to a painting that was to be hanging above a gas fire-place. It gave beautiful depth to the colors and the owner was reassured that the painting would be protected in that position. See my blog on varnishing for more details here.
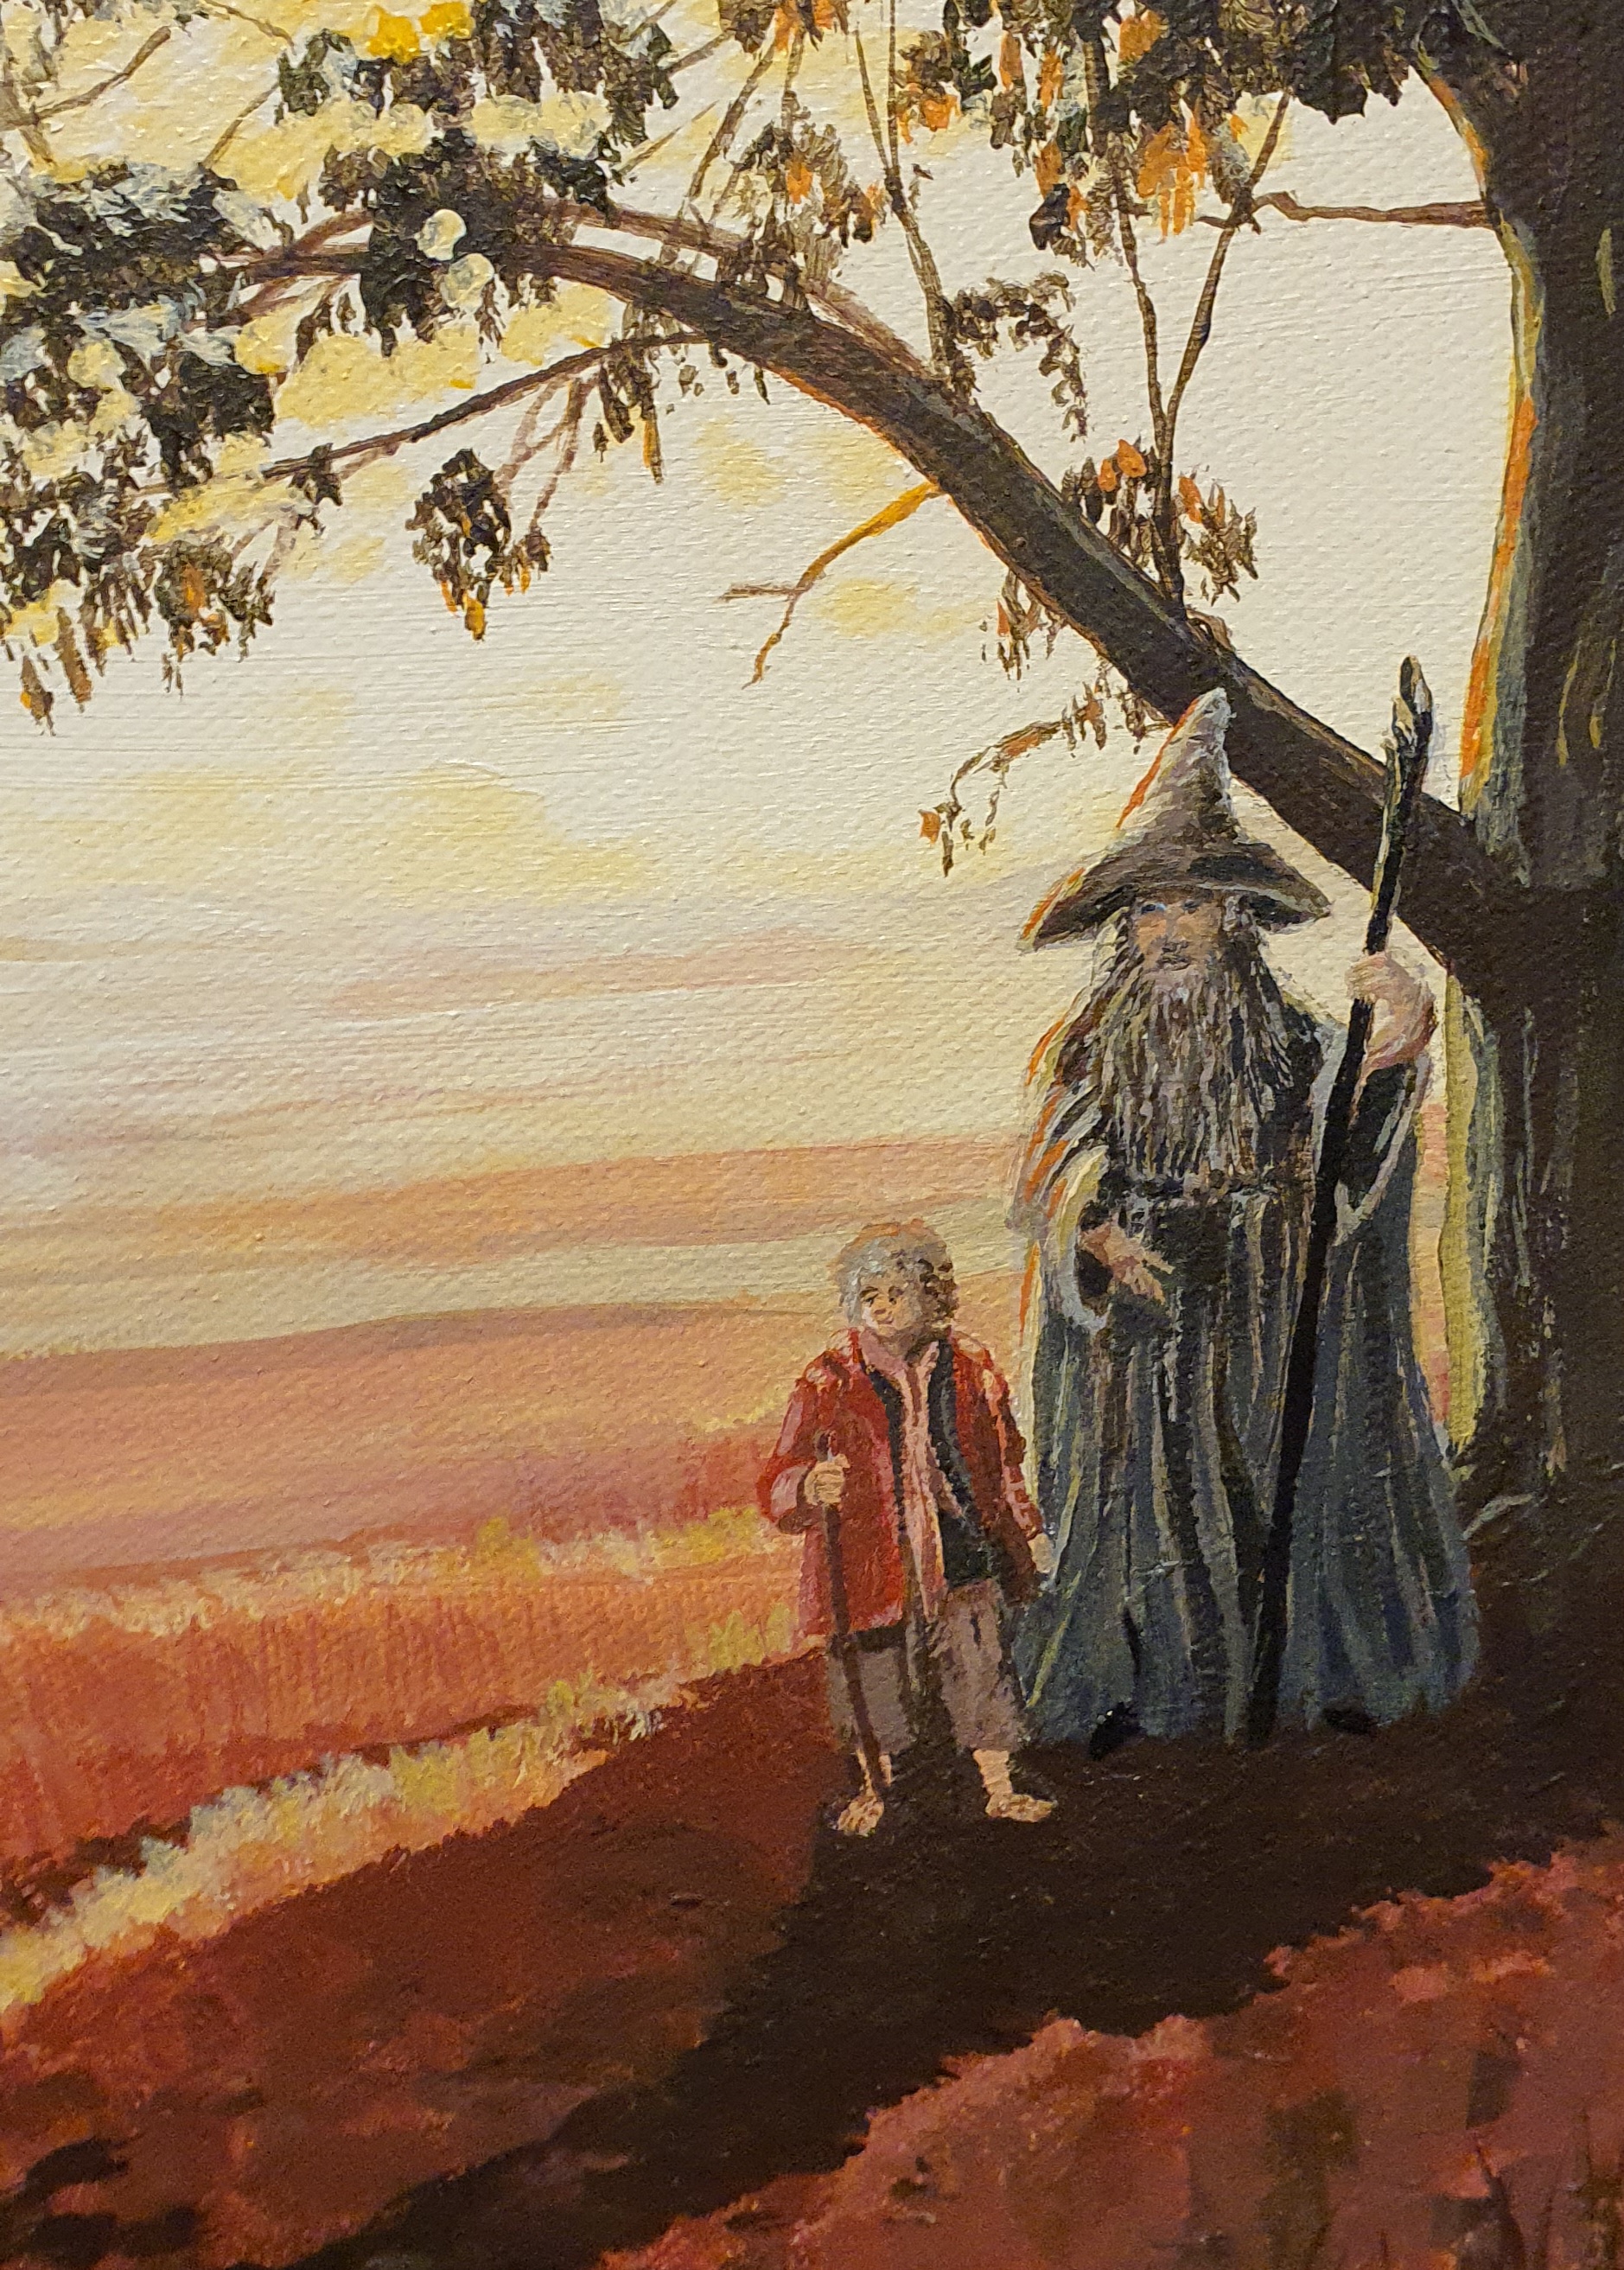
And there you have it, all the ingredients for a landscape painting, with a little something extra!

