Roses have been a part of our lives for centuries. They never fail to give us delight with their heady perfumes, velvety petals and stunning color variations.
Roses are so special that they have their own place in messages with meaning. Red roses to express love; White roses for peace, new beginnings and farewells; Pink roses to show your appreciation….to name a few. So it’s no wonder we might want to have a beautiful rose painting in our homes.
Choosing your rose to paint
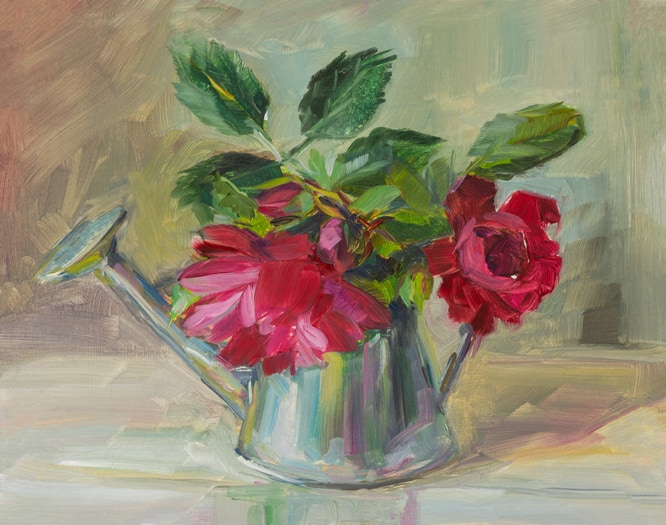
If you would like to paint a rose, think of where it will be hanging in your home. Consider the impact you want to make, or whether you would like it to be more of a subtle shabby chic appearance.
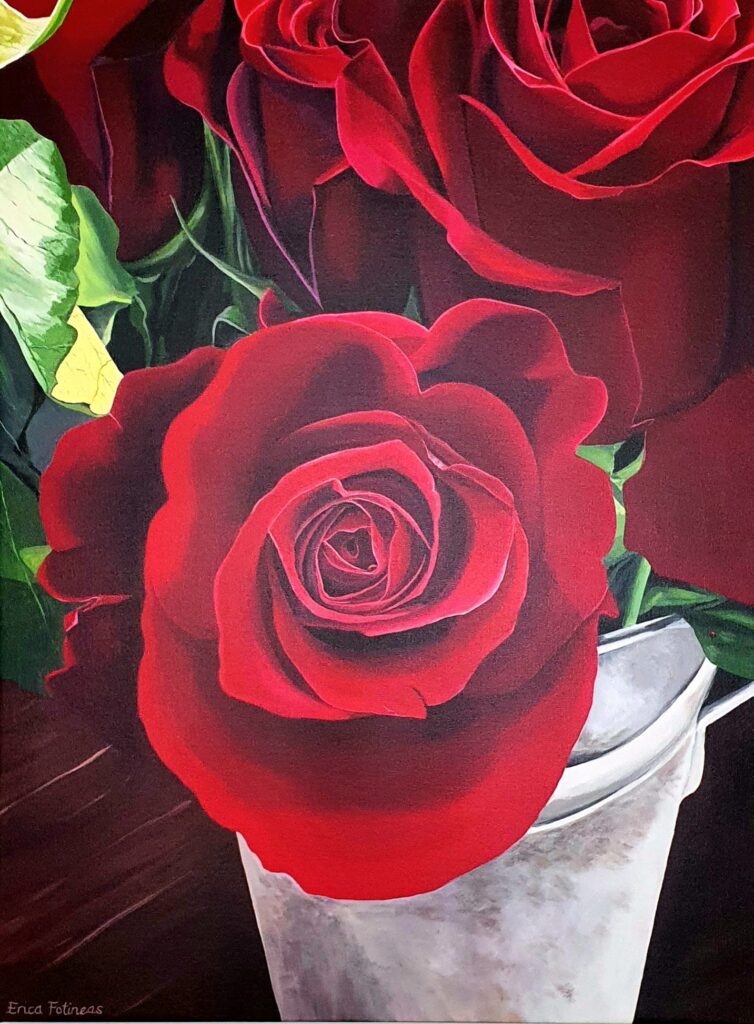
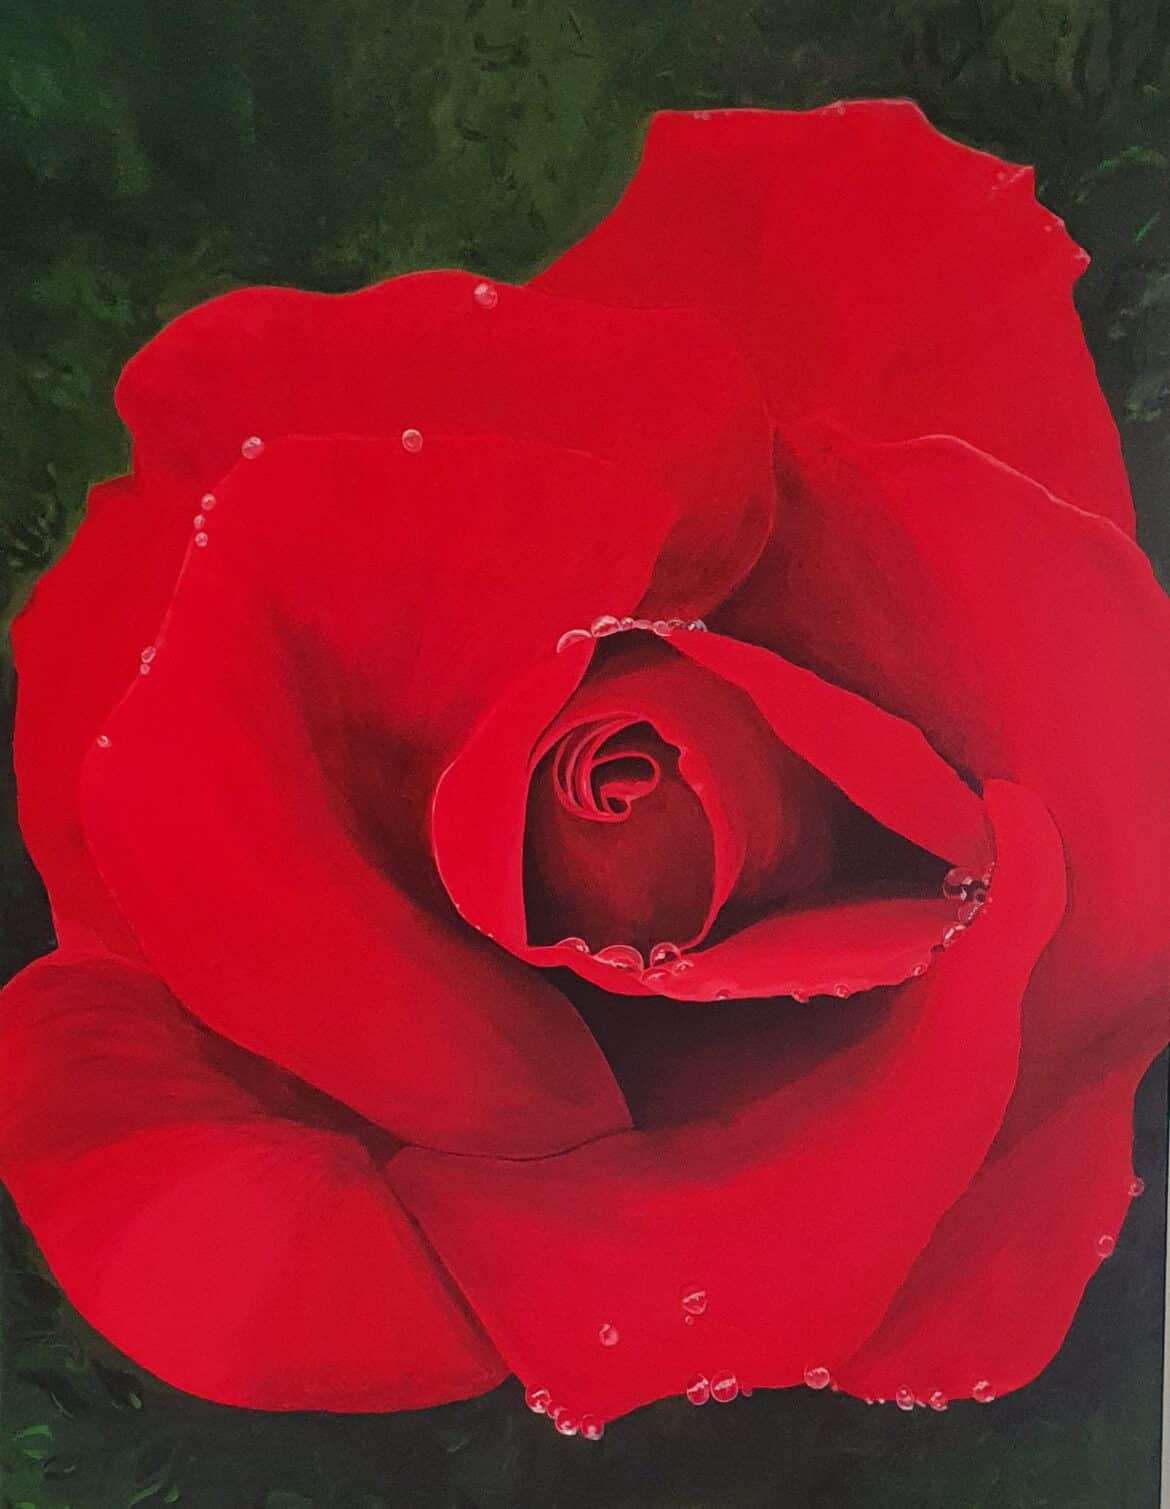
For example a big red rose will demand a lot of attention and really dominate a space. It would look spectacular at the end of a hallway. Pastel colored roses are beautiful for a peaceful bedroom.

What size do you want your rose painting to be?
Think about your room size and other paintings or pictures the rose will be sharing the wall with. Also take into consideration your skill level for painting a big rose.
Do you want it to be photo-realistic, or are you happy for it to be less focussed? My Double Delight rose painting is one metre square. That has a pretty big impact and needs a large wall and distance for it to be appreciated. Otherwise it can be too much.
Also ask yourself whether a square painting or landscape style is going to look best for your chosen space.

How to paint your rose.
- Prepare your canvas with gesso first. Do at least 2 coats, then lightly sand. Clean your canvas of any dust.
- Choose your colors by doing a color patch palette. Paint your small squares in an artist water-color book, and label.
- Make sure you label each color with the brand as well.
- Do your under-drawing using a grid or projector.
- Put in as much detail as possible because all the shadows and petals can make you go cross-eyed sometimes!
- Start in the middle and work your way out.

Painting your first part of the rose
A rose has so many layers to it, so many shadows and folds, that you need a reference point as you are painting. I usually start in the middle of the rose and work out from that point.
Keep stepping right back from your rose every now and then to observe the accuracy. Look at the shapes and shadows. Repeat this process continuously. If you are not happy with any part of it, paint over it, no-one will know but you.
Color matching is crucial.
If you are painting a red rose, you are not just using red. You are also using the colors for the various shadows that come from one petal onto another.
Mix those colors as well for your reference palette. Study the different shades from dark to light. As you paint, blend the colors when they are wet and not beginning to dry. Add tiny amounts of water to help with the blending.
Work in sections.
Choose a petal and work on it until you are happy with it. Paint each shadow as if it were a form on it’s own, especially if it has a sharp outline on the petal beneath the one causing the shadow.
When the petals curl and have irregularities, paint the light and dark. Don’t try to paint the curl as you see it over-all. If you do this, you will find it easier, and when you stand back, you will realise it represents the folds perfectly. This is where you have allowed your left brain to dominate your right brain.

Be patient when painting a rose
If you take your time with painting a rose, and just enjoy the process you will enjoy it more. Roses are as difficult or as easy as you want the ultimate outcome to be.
Shabby chic roses are not precise, they’re more blurred. So you don’t have to be as fussy with the exact shape of a shadow for example. It is the photo-realistic roses that need a great deal of patience and time.
Don’t be afraid to try painting your first rose.

